
Transforma tu Terminal: Guía Completa de Oh My Posh con PowerLevel10k + Top 10 Plugins 2025
¿Cansado de un terminal aburrido y sin personalidad? Es hora de darle vida a tu línea de comandos. En esta guía completa te enseñaré cómo instalar y configurar Oh My Posh con el tema PowerLevel10k, además de los 10 mejores plugins que transformarán tu experiencia de desarrollo.
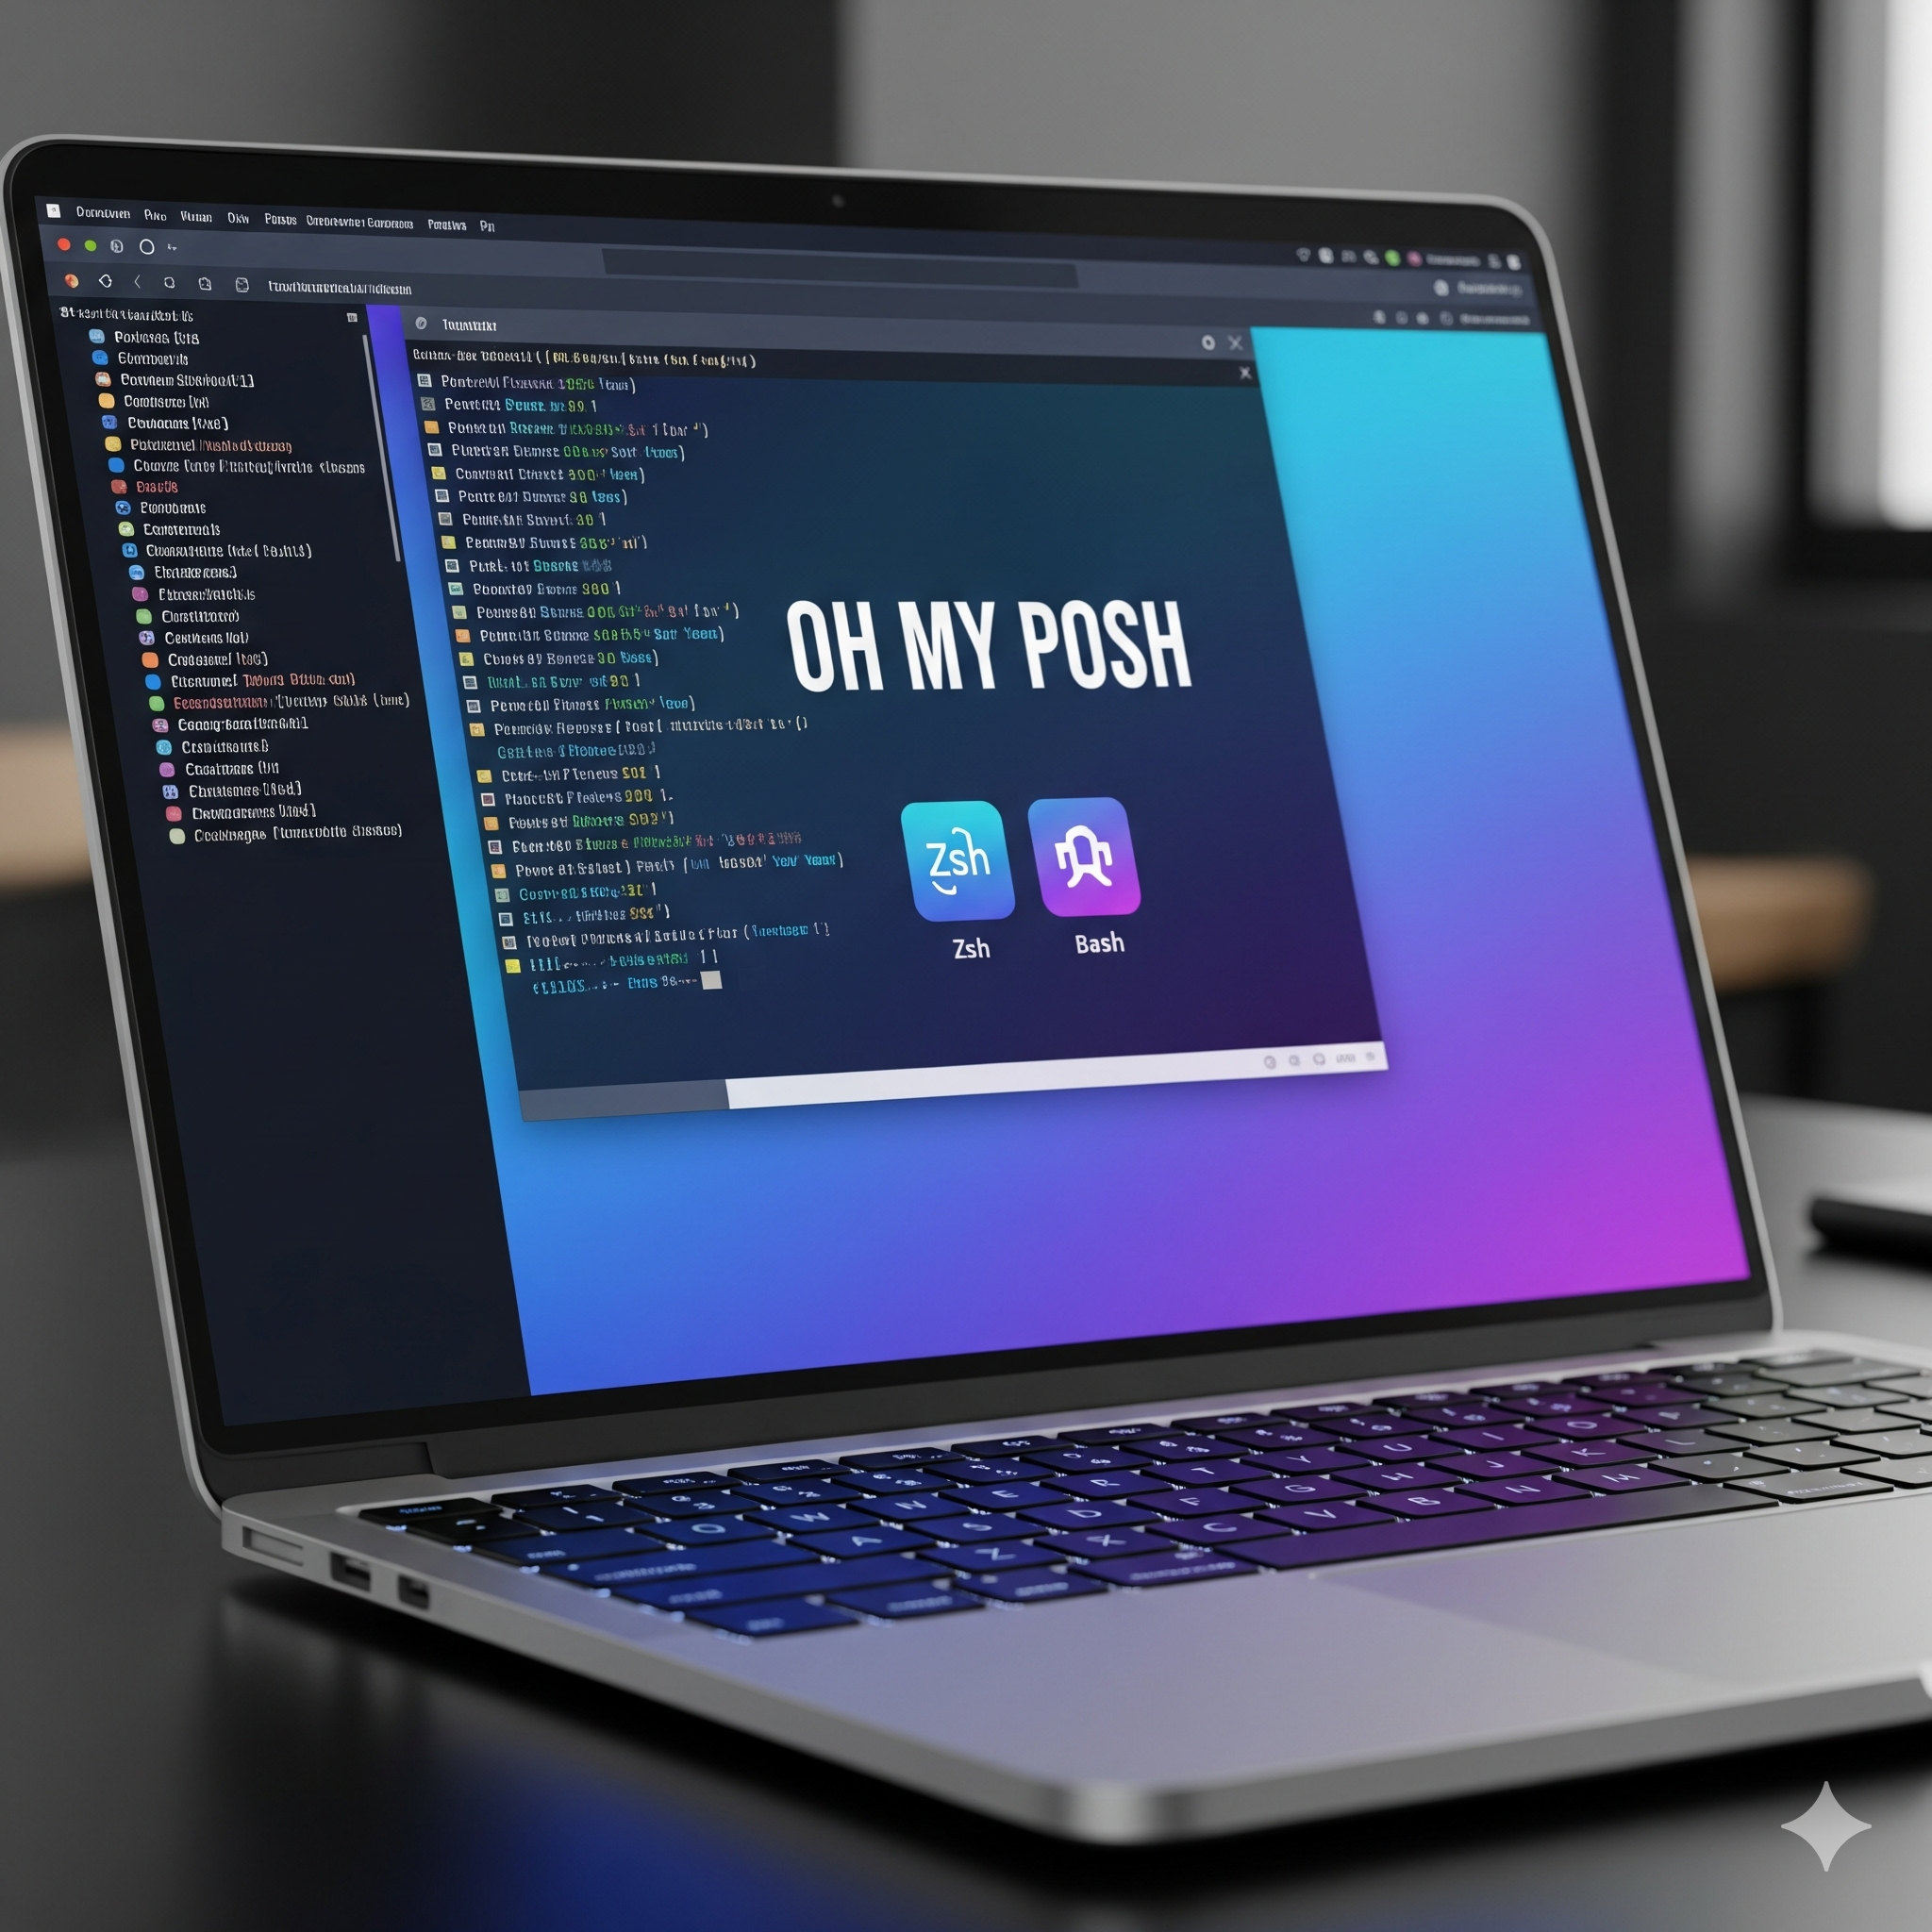
🎯 ¿Qué es Oh My Posh?
Oh My Posh es un motor de temas multiplataforma que funciona en Windows, macOS y Linux. A diferencia de Oh My Zsh (que solo funciona en Zsh), Oh My Posh es compatible con múltiples shells:
- PowerShell (Windows/Linux/macOS)
- Command Prompt (CMD)
- Bash
- Zsh
- Fish
- Nu Shell
🚀 Instalación paso a paso
Windows (PowerShell)
Método recomendado: Winget
# Instalar Oh My Posh
winget install JanDeDobbeleer.OhMyPosh --source winget

# Reiniciar el terminal para actualizar el PATH
Método alternativo: PowerShell directo
Set-ExecutionPolicy Bypass -Scope Process -Force
Invoke-Expression ((New-Object System.Net.WebClient).DownloadString('https://ohmyposh.dev/install.ps1'))
macOS
# Usando Homebrew
brew install jandedobbeleer/oh-my-posh/oh-my-posh

# Método alternativo con curl
curl -s https://ohmyposh.dev/install.sh | bash -s
Linux (Ubuntu/Debian)
# Método directo
curl -s https://ohmyposh.dev/install.sh | bash -s

# Método manual
sudo wget https://github.com/JanDeDobbeleer/oh-my-posh/releases/latest/download/posh-linux-amd64 -O /usr/local/bin/oh-my-posh
sudo chmod +x /usr/local/bin/oh-my-posh
🎨 Configuración de PowerLevel10k
Instalación de fuentes Nerd Font
¡CRÍTICO! Las fuentes Nerd Font son necesarias para mostrar iconos correctamente.
Windows
# Instalar fuente recomendada
oh-my-posh font install meslo
macOS/Linux
# Descargar e instalar manualmente desde:
# https://github.com/ryanoasis/nerd-fonts/releases
Fuentes recomendadas:
MesloLGM Nerd FontFiraCode Nerd FontJetBrainsMono Nerd FontCascadia Code NF
Configurar el perfil
PowerShell (Windows)
- Abrir el archivo de perfil:
notepad $PROFILE
- Si no existe, crearlo:
New-Item -ItemType File -Path $PROFILE -Force
- Agregar la configuración de PowerLevel10k:
# Oh My Posh con tema PowerLevel10k
oh-my-posh init pwsh --config "$env:POSH_THEMES_PATH\powerlevel10k_modern.omp.json" | Invoke-Expression

# Alternativa: usar tema personalizado
# oh-my-posh init pwsh --config "~/mi-tema-powerlevel10k.omp.json" | Invoke-Expression
Bash/Zsh (Linux/macOS)
# Para Bash (~/.bashrc)
eval "$(oh-my-posh init bash --config ~/.powerlevel10k_modern.omp.json)"

# Para Zsh (~/.zshrc)
eval "$(oh-my-posh init zsh --config ~/.powerlevel10k_modern.omp.json)"
Configurar la fuente en tu terminal
Windows Terminal
- Abrir configuración (
Ctrl + ,) - Seleccionar perfil → Apariencia
- Cambiar "Tipo de fuente" a tu Nerd Font instalada
iTerm2 (macOS)
- iTerm2 → Preferences → Profiles → Text
- Cambiar Font a tu Nerd Font
Terminal Linux
Configurar en las preferencias de tu terminal la fuente Nerd Font.
🛠️ Top 10 Plugins Esenciales
Para Oh My Zsh (Linux/macOS)
1. zsh-autosuggestions
El plugin más importante de todos.
# Instalación
git clone https://github.com/zsh-users/zsh-autosuggestions ${ZSH_CUSTOM:-~/.oh-my-zsh/custom}/plugins/zsh-autosuggestions

# Habilitar en ~/.zshrc
plugins=(zsh-autosuggestions)
Beneficio: Sugerencias inteligentes basadas en historial. Presiona → para aceptar.
2. zsh-syntax-highlighting
git clone https://github.com/zsh-users/zsh-syntax-highlighting.git ${ZSH_CUSTOM:-~/.oh-my-zsh/custom}/plugins/zsh-syntax-highlighting

# Agregar al final de la lista de plugins
plugins=(zsh-autosuggestions zsh-syntax-highlighting)
Beneficio: Resalta comandos válidos/inválidos en tiempo real con colores.
3. git
# Ya viene incluido, solo habilitar
plugins=(git zsh-autosuggestions zsh-syntax-highlighting)
Aliases útiles:
gst=git statusga=git addgco=git checkoutgpsup=git push --set-upstream origin
4. z (jump)
# Ya incluido en Oh My Zsh
plugins=(z git zsh-autosuggestions zsh-syntax-highlighting)
Beneficio: Saltar rápidamente a directorios frecuentes con z nombre_directorio.
5. you-should-use
git clone https://github.com/MichaelAquilina/zsh-you-should-use.git $ZSH_CUSTOM/plugins/you-should-use
Beneficio: Te recuerda usar aliases existentes cuando escribes comandos largos.
6. zsh-bat
git clone https://github.com/fdellwing/zsh-bat.git $ZSH_CUSTOM/plugins/zsh-bat
Beneficio: Reemplaza cat con bat para syntax highlighting automático.
7. web-search
# Incluido por defecto
plugins=(web-search ...)
Uso: google "término de búsqueda", stackoverflow "pregunta"
8. copypath
# Incluido por defecto
plugins=(copypath ...)
Beneficio: copypath copia la ruta actual al portapapeles.
9. history
# Incluido por defecto
plugins=(history ...)
Comandos útiles:
h- mostrar historialhs término- buscar en historial
10. sudo
# Incluido por defecto
plugins=(sudo ...)
Beneficio: Presiona Esc dos veces para agregar sudo al comando actual.
Para PowerShell (Windows)
1. PSReadLine
# Instalar/actualizar
Install-Module PSReadLine -Force -SkipPublisherCheck

# Agregar al $PROFILE
Import-Module PSReadLine
Set-PSReadLineOption -PredictionSource HistoryAndPlugin
Set-PSReadLineOption -PredictionViewStyle InlineView
Set-PSReadLineOption -EditMode Windows
2. Terminal-Icons
Install-Module -Name Terminal-Icons -Repository PSGallery

# Agregar al $PROFILE
Import-Module Terminal-Icons
3. posh-git
Install-Module posh-git -Scope CurrentUser

# Agregar al $PROFILE
Import-Module posh-git
4. PSFzf (Fuzzy Finder)
Install-Module -Name PSFzf

# Agregar al $PROFILE
Import-Module PSFzf
Set-PsFzfOption -PSReadlineChordProvider 'Ctrl+t' -PSReadlineChordReverseHistory 'Ctrl+r'
5. PowerShell-Beautifier
Install-Module PowerShell-Beautifier

# Uso: Edit-DTWBeautifyScript -SourcePath script.ps1
🎨 Personalización Avanzada
Crear tema personalizado PowerLevel10k
- Exportar tema base:
oh-my-posh config export --config powerlevel10k_modern --output ~/.mi-tema.omp.json
- Editar el archivo JSON para personalizar:
- Colores
- Segmentos mostrados
- Iconos
- Posición de elementos
Configuración completa del $PROFILE para PowerShell
# Mi configuración completa de PowerShell
# Ubicación: $PROFILE

# Oh My Posh
oh-my-posh init pwsh --config "$env:POSH_THEMES_PATH\powerlevel10k_modern.omp.json" | Invoke-Expression

# Módulos
Import-Module posh-git
Import-Module Terminal-Icons
Import-Module PSReadLine
Import-Module PSFzf

# Configuración PSReadLine
Set-PSReadLineOption -PredictionSource HistoryAndPlugin
Set-PSReadLineOption -PredictionViewStyle InlineView
Set-PSReadLineOption -EditMode Windows
Set-PSReadLineOption -BellStyle None

# Configuración PSFzf
Set-PsFzfOption -PSReadlineChordProvider 'Ctrl+t'
Set-PsFzfOption -PSReadlineChordReverseHistory 'Ctrl+r'

# Aliases personalizados
Set-Alias -Name vim -Value nvim
Set-Alias -Name grep -Value findstr
Set-Alias -Name ll -Value ls
Set-Alias -Name la -Value ls

# Función personalizada para actualizar sistema
function Update-All {
    Write-Host "Actualizando Oh My Posh..." -ForegroundColor Green
    winget upgrade oh-my-posh

    Write-Host "Actualizando módulos PowerShell..." -ForegroundColor Green
    Update-Module -Force

    Write-Host "¡Actualización completa!" -ForegroundColor Cyan
}
🔧 Solución de problemas comunes
Problema: Caracteres extraños o cuadrados
Solución: Instalar y configurar una Nerd Font correctamente.
Problema: Oh My Posh no se reconoce
Solución:
# Reiniciar terminal o agregar manualmente al PATH
$env:Path += ";C:\Users\$env:USERNAME\AppData\Local\Programs\oh-my-posh\bin"
Problema: Errores de ejecución de scripts
Solución:
Set-ExecutionPolicy RemoteSigned -Scope CurrentUser
Problema: Tema no se carga
Solución: Usar rutas completas en lugar de relativas.
📊 Rendimiento y optimización
Acelerar carga del terminal
# Habilitar caché de configuración
oh-my-posh config cache --action=set
Reducir segmentos para mejor rendimiento
Edita tu tema JSON y elimina segmentos innecesarios como:
- Análisis de repositorios grandes
- Verificación de versiones de muchos lenguajes
- Segmentos de red lentos
🎯 Próximos pasos
- Explora temas:
Get-PoshThemespara ver todos los temas disponibles - Personaliza: Crea tu propio tema basado en tus necesidades
- Automatiza: Agrega scripts y funciones personalizadas a tu perfil
- Sincroniza: Mantén tu configuración en un repositorio Git para usar en múltiples máquinas
📚 Recursos adicionales
¡Con esta configuración tendrás el terminal más poderoso y hermoso para aumentar tu productividad como desarrollador! 🚀
¿Te gustó esta guía? ¡Compártela con otros desarrolladores y déjame saber en los comentarios qué plugins y temas usas tú!